OTHER FEATURES
LOOKBOOKS | COLLECTIONS
MESSAGING | LEADS | CONSULTATIONS
MATCHMAKER | ANALYTICS
LOOKBOOKS
CREATING A LOOKBOOK
Create a clickable catalogue to promote your products and encourage sales using grouped or lifestyle shots. Before setting up your lookbook, please make sure that the products you want to feature are already uploaded to your Store.

To start, head to Content and click on Lookbook
.
Fill out these basic fields to create a cover for your Lookbook:
- Cover Image: Create a thumbnail that will show up on your Proifile page and lead visitors to your Lookbook. Optimal Size: 1040 x 320, Minimum Size: 700 x 290
- Title: Max 40 characters
- Subtitle: Max 25 characters
- Description: Max 250 characters
- Lookbook Visibility: Set this drop-down options to Public so that everyone can see it.
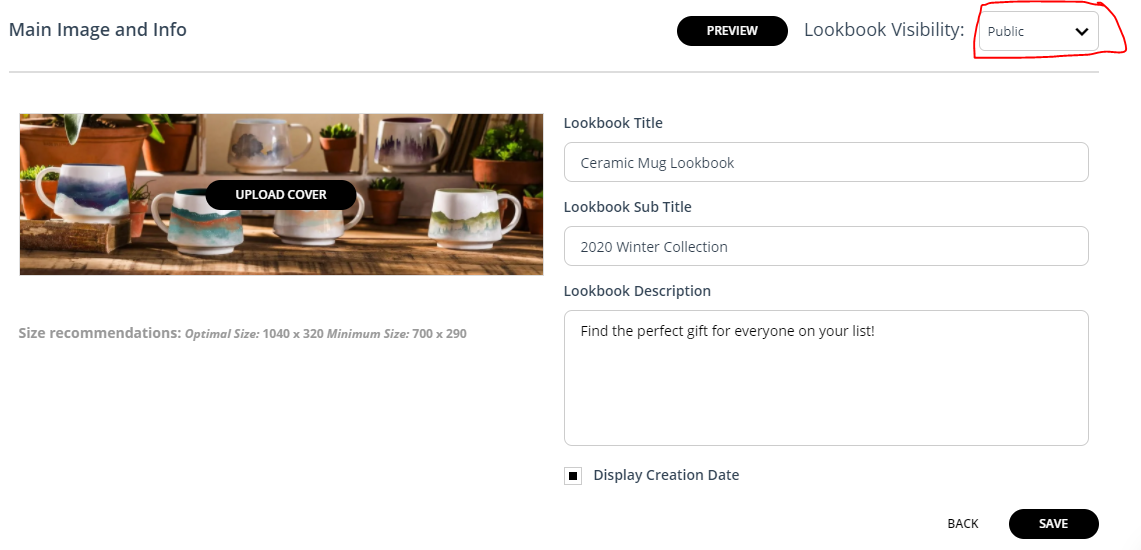
Click Save once you are done.
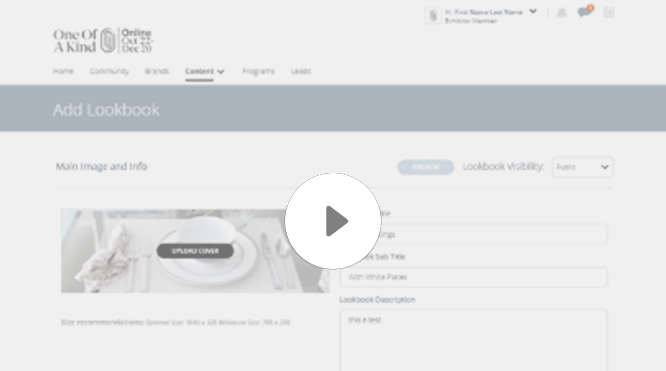
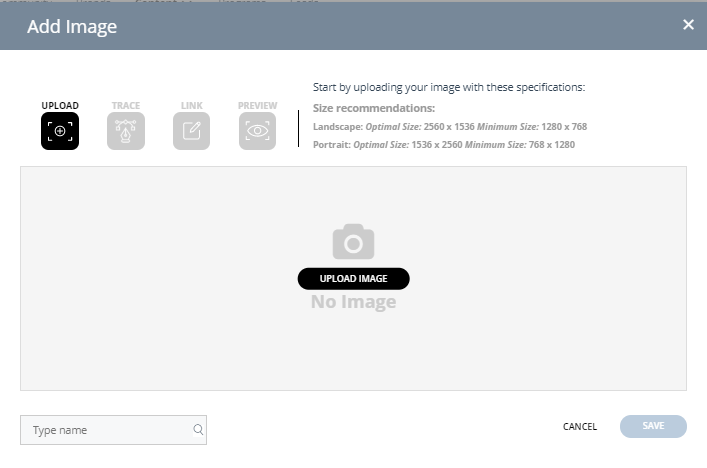
Now you are ready to upload the clickable image. Click Add Image and you should see the below screen pop up. Follow the instructions to upload your clickable image.
- Landscape Optimal Image Size: 2560 x 1536 px
- Portait Oprtimal Image Size: 1536 x 2560 px
Once your image is uploaded, use the trace tool to draw the clickable area on your image.
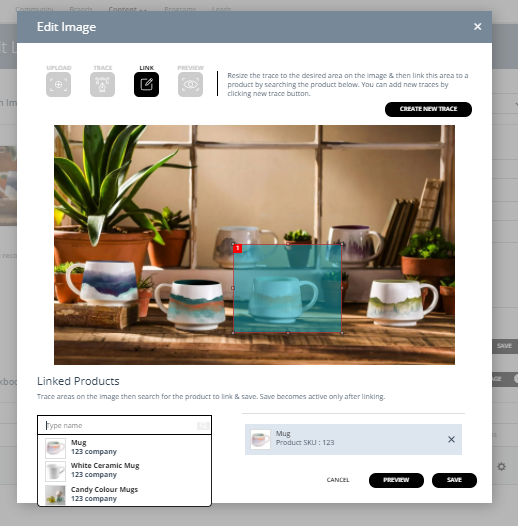
Then, you can link it to the corresponding products in your store. Under Linked Products, type in the name of the product you want to link to and select it to add. Remember, in order for this work, you should already have uploaded the products to your store. Continue this process until all the images you want to link are completed.
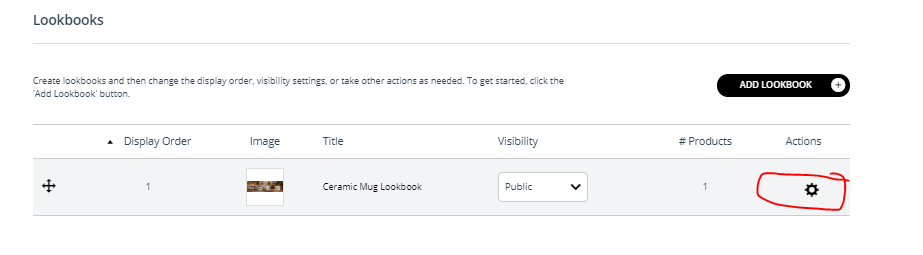
Press Save to complete your Lookbook. You can always edit your lookbook by simply navigating to Content > Lookbook and clicking on the gear icon to make changes.
COLLECTIONS
CREATING COLLECTIONS
(Collections starts at 6:44)
Use Collections to create groups of products by theme, season or any label of your choosing. Once you have created a Collection and added your products, you will be able to share a link to a version of your Store with only the items in your specific collection displaying. This can be great for creating your own Gift Guides, sharing seasonal items, or debuting new work! Customers will also be able to filter by Collections when viewing your Store.
To add a Collection, go to Store > Collections.
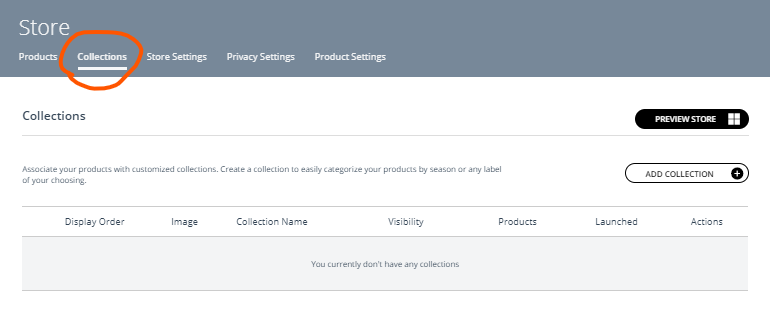
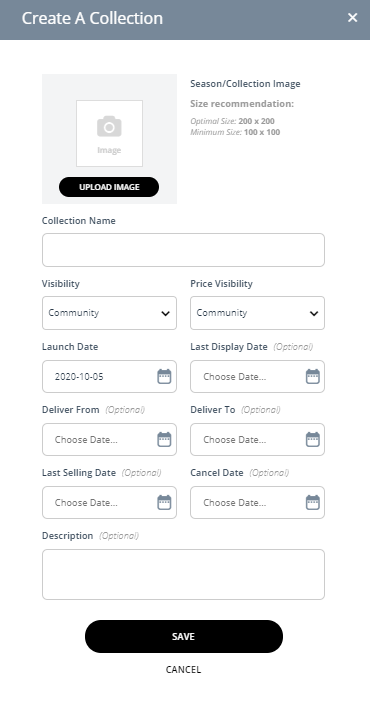
Click Add Collection and fill out the fields. Most fields are not required, so please only fill in those applicable to your collection.
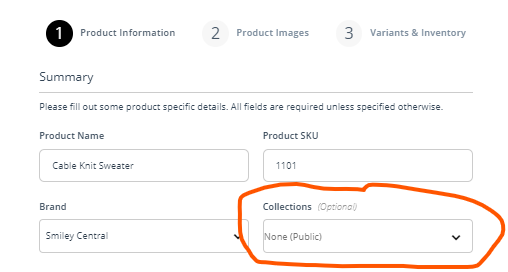
Once your Collection has been created, you will be able to add individual products to it by editing the listing and selecting the appropriate one from the Collections drop down.
Once you have added all of your products to your Collection, you can return to the Collections tab and click Preview Collection to get a link to your Collection that you can share on social, in your newsletter and more!

And customers can filter items in your Store by Collections to find exactly what they are looing for.

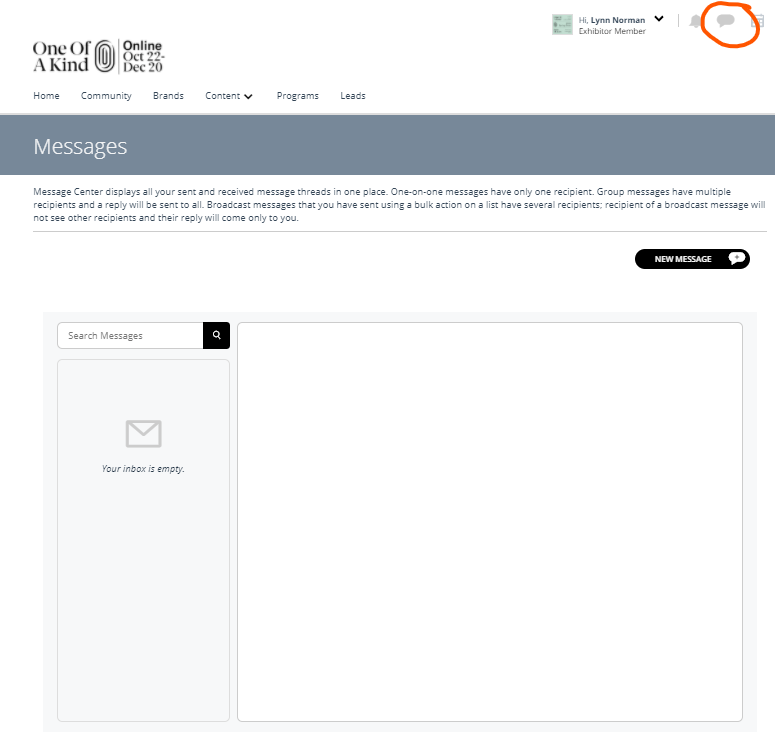
MESSAGING
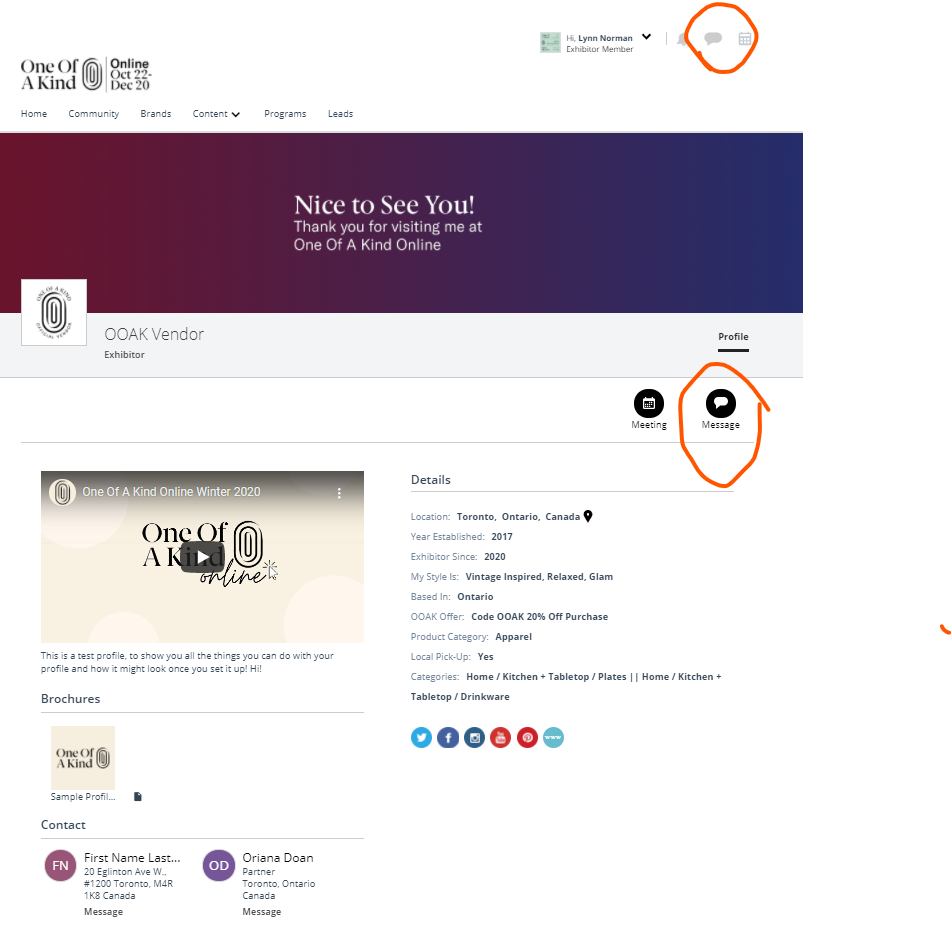
Registered users will be able to send messages to vendors within the platform, using the messaging tool. A Message button will appear on your Profile, Store and individual product pages, making it easy for shoppers to reach out to learn more.
Make sure to set your email notifications so that you know when a customers has reached out to your on the platform. You can adjust this setting in finer detail later under My Account > Email Notifications from the Account drop down menu in the top right corner.
Access your messages by clicking the speech bubble in the top right corner and manage messages through your inbox.
LEADS
Use the Leads feature to get a better understanding of how your registered shoppers are browsing your Profile and Store. Click each individual lead to see where they have visited, what they are interested in, and any products they have favourited.
.png)
You can qualify Leads as Warm, Hot or Cold and decide if and how you would like to reach out to them based on their interest.
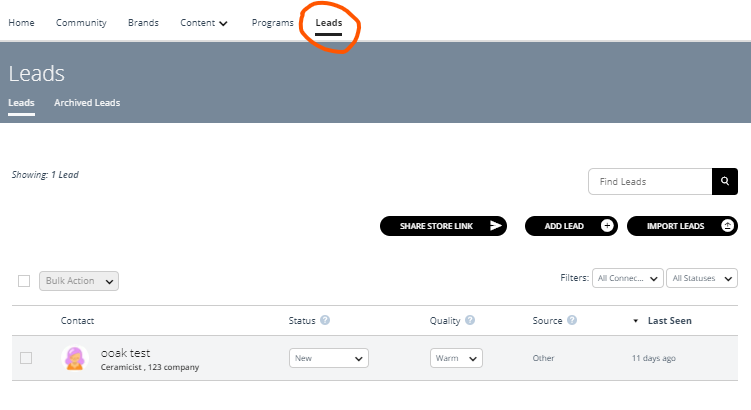
You can also change the status of Leads so that you can easily sort them by New, Open, Converted and Disqualified to create more targeted in-platform communications, ie. welcome, subscribe/follow or promo code.
Notice a new customer exploring a lot of your listings?
Send a prompt for them to subscribe ot your newsletter or follow you on social, and include an incentive if you can.
Did a customer favourite one of your products?
Why not reach out to them with a promo code to help close the sale?
Has a customer returned to the same product more than once?
Try sending a quick message to ask if they have any questions.
MAKE MINDFUL CONNECTIONS WITH LEADS
The secret to nurturing customer relationships online is to be respectful while providing perks and benefits to entice your customers to purchase. Be mindful of how you approach your leads (in short, don't bombard them with irrelevant messages). Decide on some parameters for who you will reach out to and when so that this remains an effective and unlcuttered sales tool. If you see a customer who is visiting your profile and product pages consistently, why not send them a simple note with a promo code to encourage purchase?
We encourage you to be respectful of this feature so that we do not overwhelm or turn customers off with unnecessary messages. Ideally you will only use this feature to reach out to repeat visitors or offer special discount code to visiting shoppers. How we use the messaging feature this year will determine the parameters for use moving forward, so please use your best judgment!
EXAMPLE
Hello NAME,
I noticed that you've had your eye on PRODUCT. If you have any questions about SIZING or how it's made, just let me know! I would be happy to help!
Hello NAME,
I noticed that you've been looking at my PRODUCT. I'd love to offer you a special discount code for on that item so that you can check it off your shopping list!
COMPLIANCE + NOTIFICATIONS
- The Leads feature is completely optional, so you are not obligated to do anything with it if you don't want to.
- The Leads feature relies on in-platform messaging and any messages you send are delivered through the platform so it is completely CASL compliant. Customers who create an account opt-in and have the ability to adjust their email notifications for any messages received through OOAK Online.
- Exhibitors also have the ability to turn off or receive weekly digests of platform communications through your Email Notification Settings, however we advise that you leave your email notifications on, so you are aware of and can respond to any activity.
How you manage your leads and messages is ultimately up to you--as we ask is that that you please remember to communicate with leads mindfully so as not to overwhelm browsing shoppers with messages.
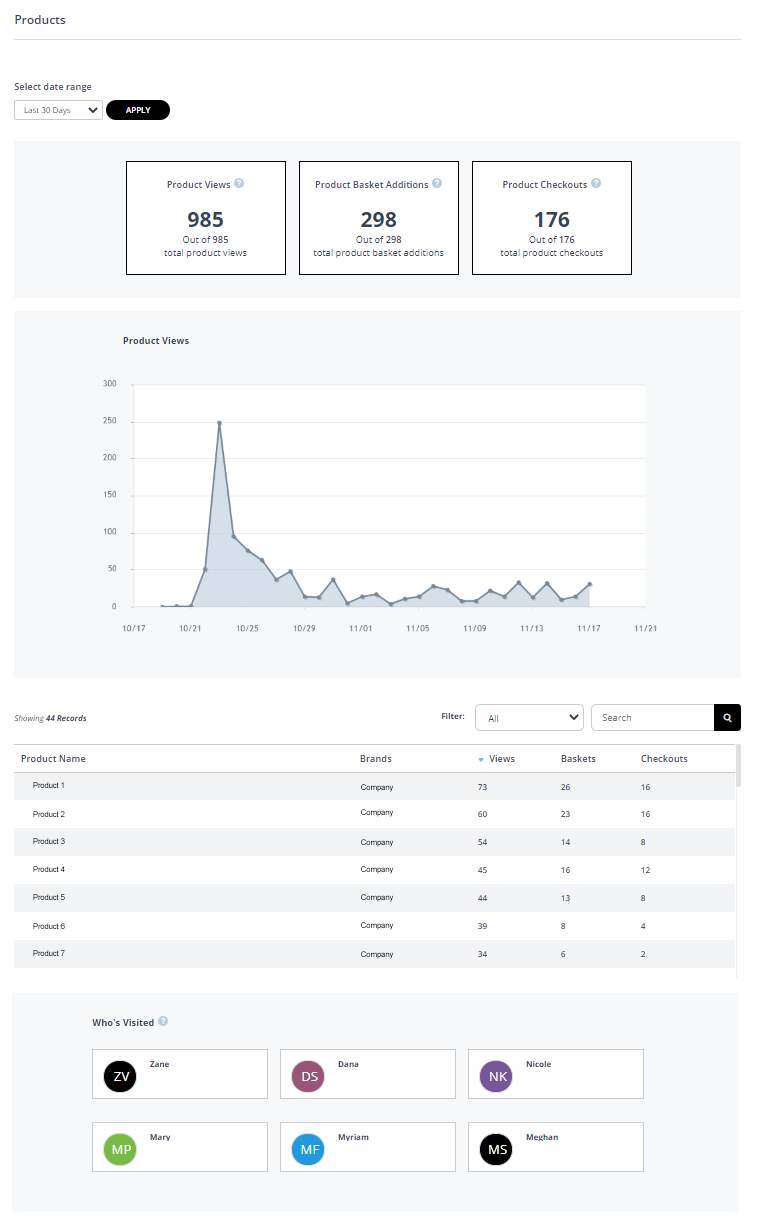
ANALYTICS
Much like our customers must learn new ways to shop One Of A Kind, we must learn new metrics for success in our virtual show environment. Use Analytics to learn how many registered shoppers are viewing your Profile and Product pages, plus, NEW! we've added two metrics to tell you how many products are added to cart and pushed through to checkout.
Set a specific date range to narrow down metrics, see your most viewed products, and learn which registered shoppers are frequenting your pages. Use your Analytics page to extract data that will help you thoughtfully encourage sales, by doing things like:
- Bumping your most popular products to the top of your Store so that they are the first things visiting shoppers see.
- Using the Messaging feature to send promo codes to repeat visitors.
NOTE: All metrics captured are from users registered with OOAK Online. We do not currently track anonymous visitors profile, store or product views.
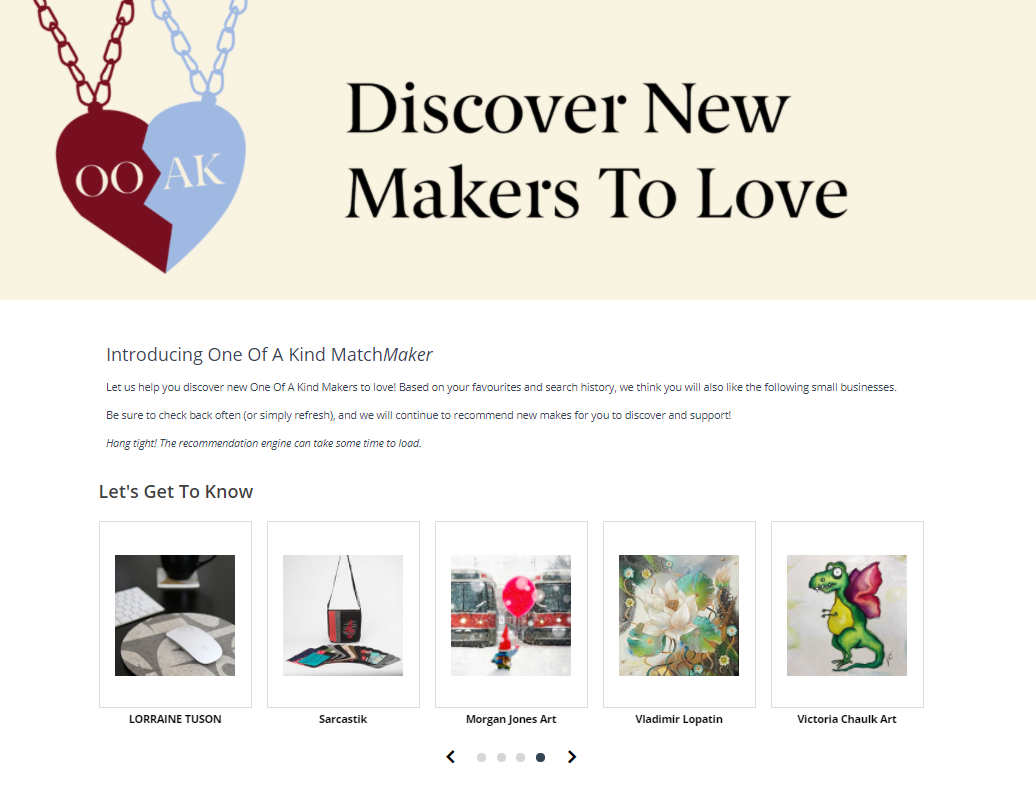
MATCHMAKER
The MatchMaker tool helps connect customers with even more OOAK makers to know and love! Now, customers who visit the Matckmaker will see personalized recommendations for new brands to discover based on their favourites and search activity. And they can keep refreshing or coming back later for more!

CONSULTATIONS
Consultations are a great way to try and re-create the face-to-face experience of these show! Set your Calendar availability so that customers can book appointments with you throghout the show. And make sure you are set up on a virtual communications platform, like Zoom, so you can input it during your calendar set up and have it included in your booking communications. Don’t have Zoom? Create an account here.
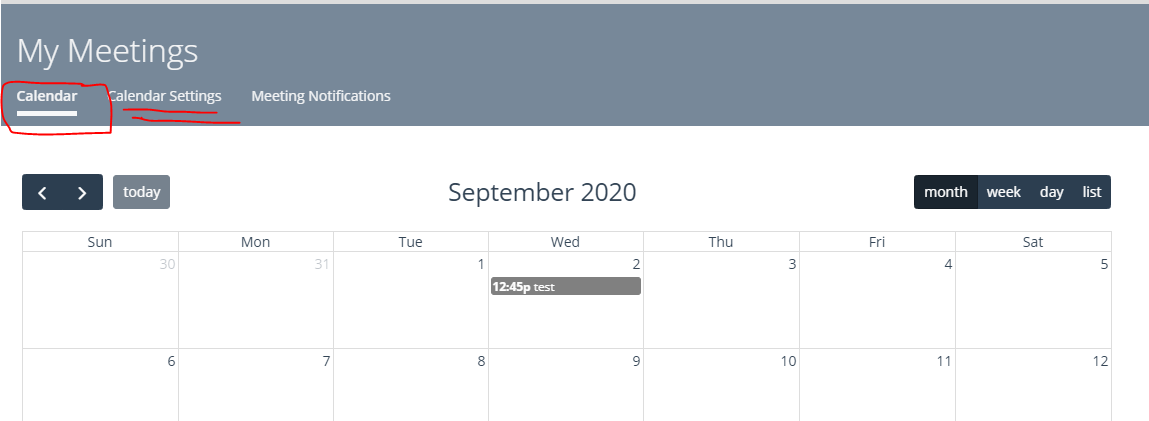
SETTING UP YOUR CALENDAR
Click on the calendar icon, in the upper right-hand corner and select the Calendar heading. This is where you will see all of your booked consultations.
Now, click on the Calendar Settings heading to set your parameters.
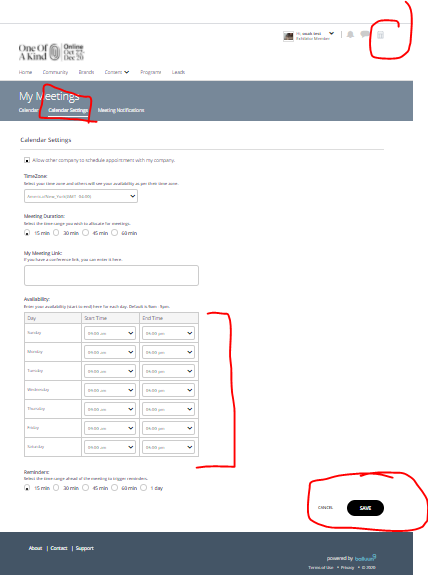
- Availability: Identify what times you are available each day. Please note that if your schedule changes from week to week, you will need to update these settings accordingly. Not available at all? Set your start and end time to the same time to block off availability for specific days.
- Meeting Duration: Determine the length of time you want your meetings to be, whether it is 15, 30, 45 or 60-minutes.
- Conference Link: Plug in your Zoom link so that shoppers know how to connect with you when their meeting time comes. Prefer to communication on the phone? Add your phone number in this field instead.
Then, Save your settings and you are all set!
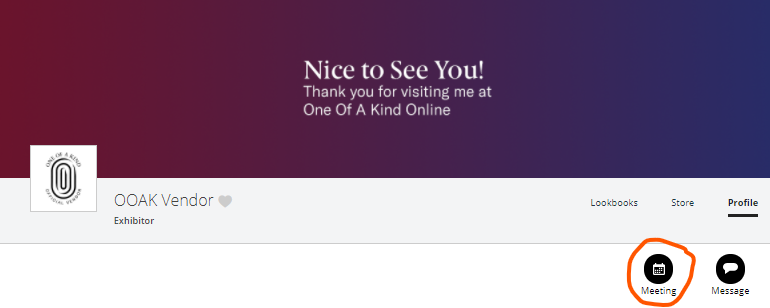
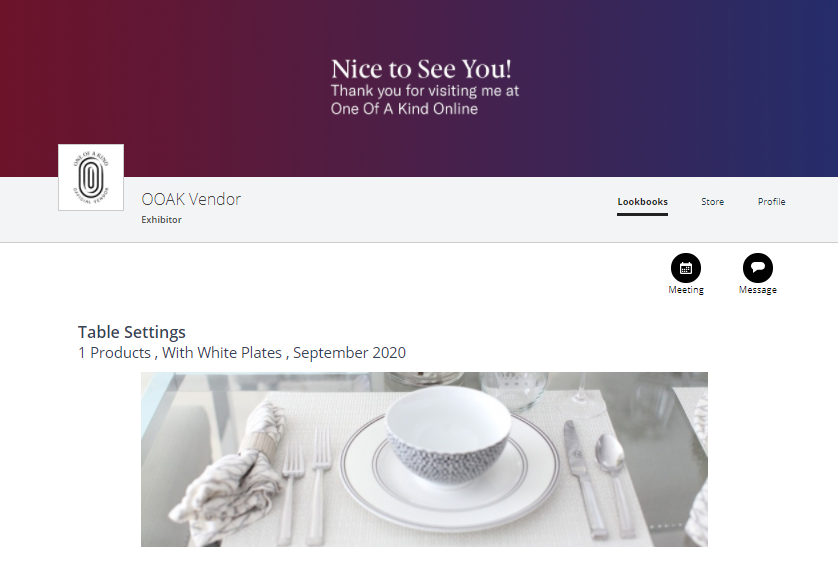
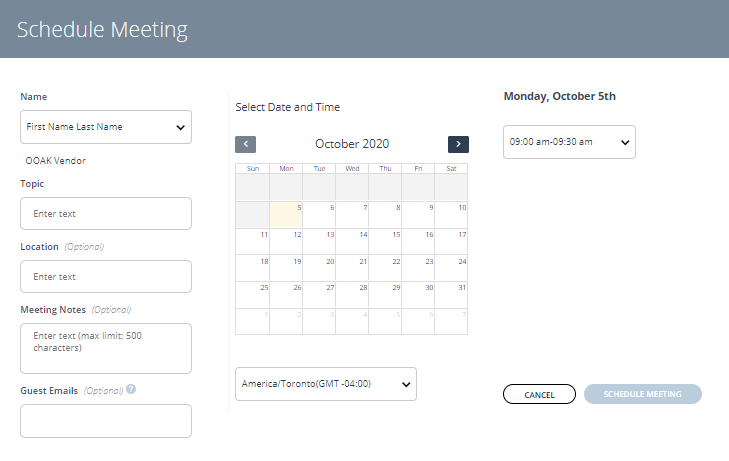
Now, shoppers will be able to click the Meetings button on your Profile and easily book a consultation with you!
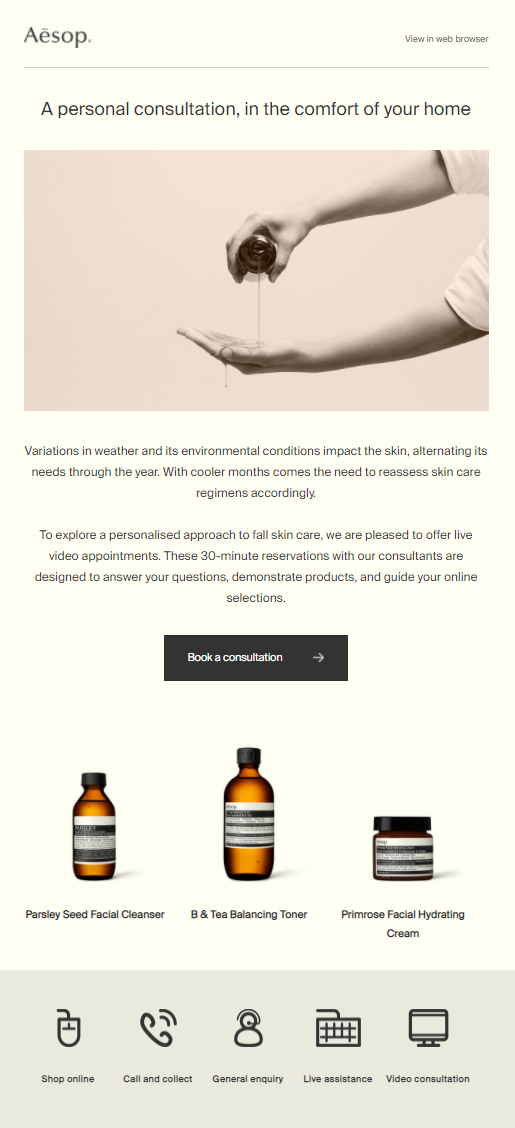
PROMOTE YOUR CONSULTATIONS
We love this simple email from Aesop promoting virtual skincare consultations. Think of what services or information you can offer to promote your products in a virtual setting, and invite customers to connect with you throughout One Of A Kind Online.